Leather Conditioner: The Real Reason Leather “Cracks” (and the Simple Routine That Keeps It Supple)

If you’ve ever run your hand across a leather sofa and felt it turning a little stiffer—less buttery, more “tight”—you already understand the core message behind the video you attached.
The visuals make it clear: leather looks luxurious, but it lives a hard life. Daily body weight creates tension and creasing. Strong daylight and extreme UV accelerate aging. Cold, dry winter air (or year-round air-conditioning) pulls moisture out of the environment. Then we try to “fix” it with a quick wipe… and hope for the best.
That’s where leather conditioner comes in—but not in the way most people think.
A leather conditioner is not magic lotion. It’s a maintenance tool. Used correctly, it helps preserve softness, reduce surface stress, and slow down the chain reaction that leads to dryness, stiffness, and eventually cracking. Used incorrectly, it can create new problems: sticky build-up, dark patches, clogged pores, or a glossy finish that looks nothing like real leather.
This guide breaks down what the video is really teaching—and gives you a practical, repeatable system for choosing and using leather conditioner the right way.
What Leather Conditioner Actually Does (and What It Doesn’t)
Think of leather as a structured fiber network (mostly collagen) that has been stabilized during tanning, then finished for color, feel, and protection.
A good leather conditioner is designed to:
-
Reduce fiber friction so leather flexes with less stress
-
Maintain a pleasant hand-feel (supple, not dry or “papery”)
-
Slow surface drying caused by UV exposure, air-conditioning, and heat
-
Support the finish layer (especially on finished/pigmented leather) so it doesn’t become brittle over time
What leather conditioner does not do:
-
It does not permanently “restore” leather that is already cracking (that’s repair, not conditioning).
-
It does not reverse sun-fading.
-
It does not fix peeling (peeling is usually a failing topcoat or bonded leather issue).
-
It does not work equally on every leather type—this is the biggest misconception.
The word “equal” flashes in your video for a reason: many people assume leather is leather, so one product and one routine must fit all. In reality, the finish determines everything.
Why Leather “Hardens”: The 3 Stressors Shown in the Video
1) UV Exposure: “Extreme UV” = Faster Aging
The video calls out extreme UV index with strong sunlight scenes, and this matters even indoors. UV and heat accelerate oxidation and drying in the finish layer. Over time, that finish can lose flexibility, and when you sit down (tension + movement), micro-cracks begin.
Key takeaway: conditioning helps, but positioning helps more. If your leather sits in strong daily sunlight near windows, your first “conditioner” is better light control.
Do this:
-
Pull sheer curtains during peak sun
-
Rotate cushions if your sofa design allows it
-
Keep leather away from direct afternoon sun if possible
2) Winter / Dry Air: Moisture Leaves the Room, Then the Leather
The video flashes “WINTER” because dry seasons (or heated indoor air) reduce ambient humidity. Leather doesn’t “need water” the way skin does, but the environment still influences how flexible materials feel—especially the finish/topcoat.
In tropical climates, the equivalent is often air-conditioning: long hours of cooled, dehumidified air can make leather feel drier and firmer over time.
3) Tension: Sitting, Creasing, Stretching = Stress Concentration
The “TENSION” scene is the most overlooked. Most cracks start where leather bends the most:
-
seat front edges
-
cushion corners
-
arm tops
-
headrest areas
When leather is slightly dry or the finish is slightly brittle, repeated flexing concentrates stress and accelerates wear.
A consistent leather conditioner routine reduces friction and helps the surface flex more gracefully.
The Most Important Question Before You Buy Leather Conditioner
“What type of leather do I have?”
Your video includes the word “NATURAL,” and that’s a big clue: natural (more open) leathers behave very differently from coated leathers.
Here’s a practical classification that homeowners can actually use:
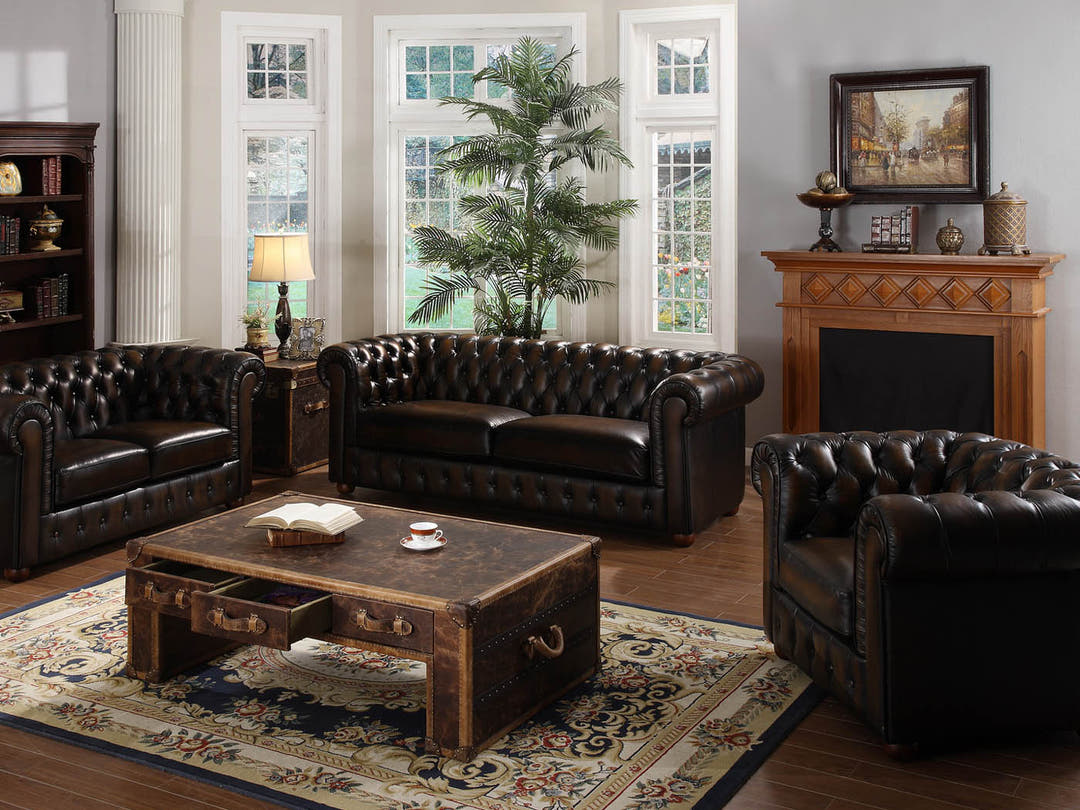
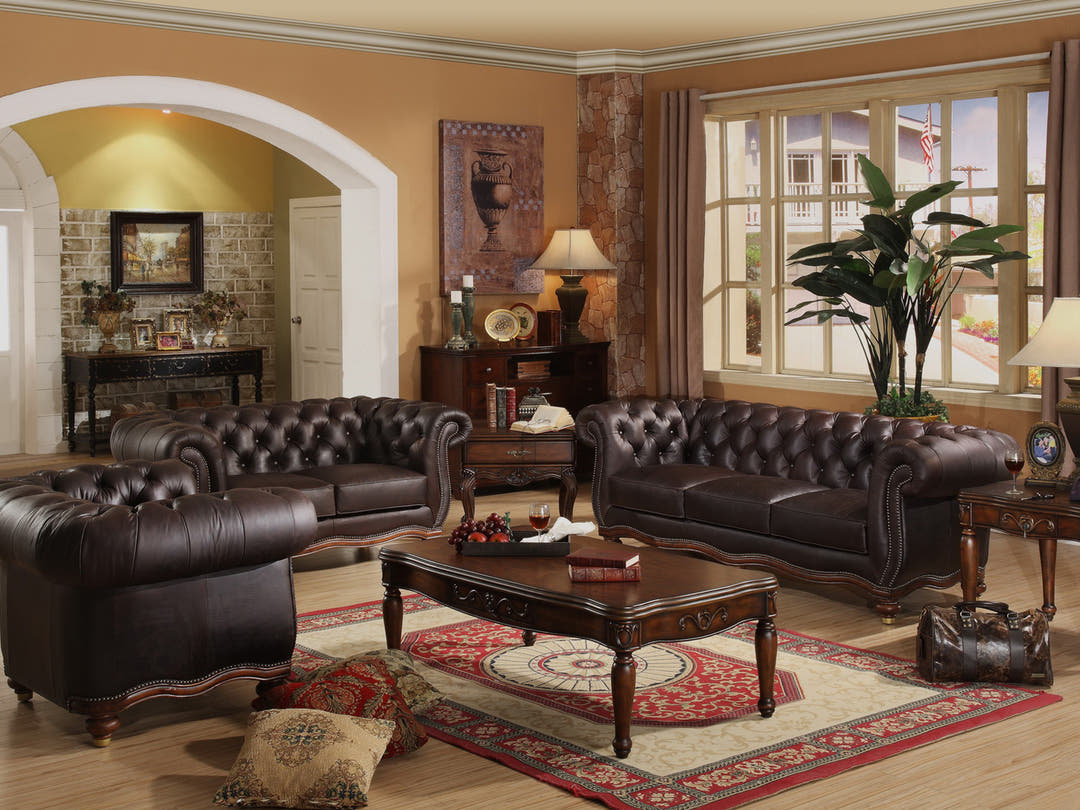
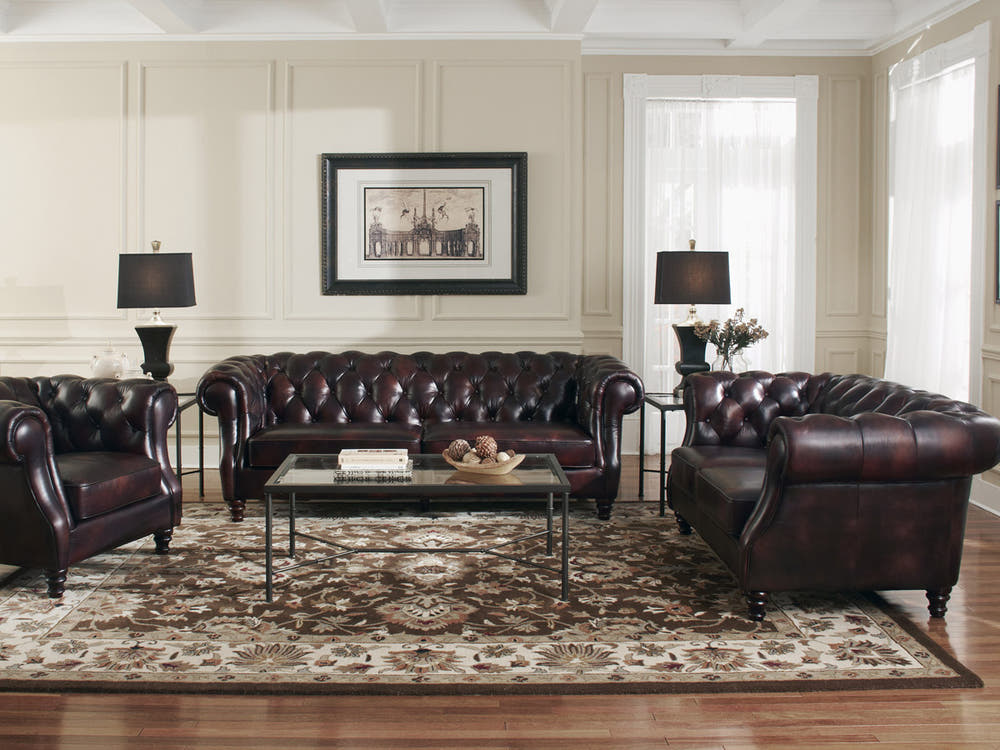
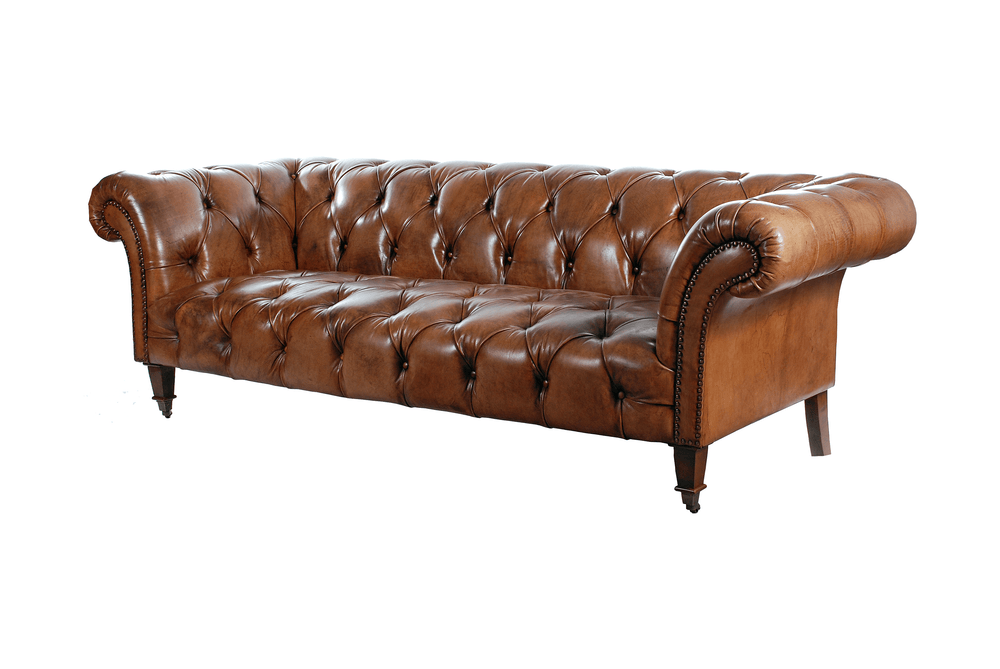
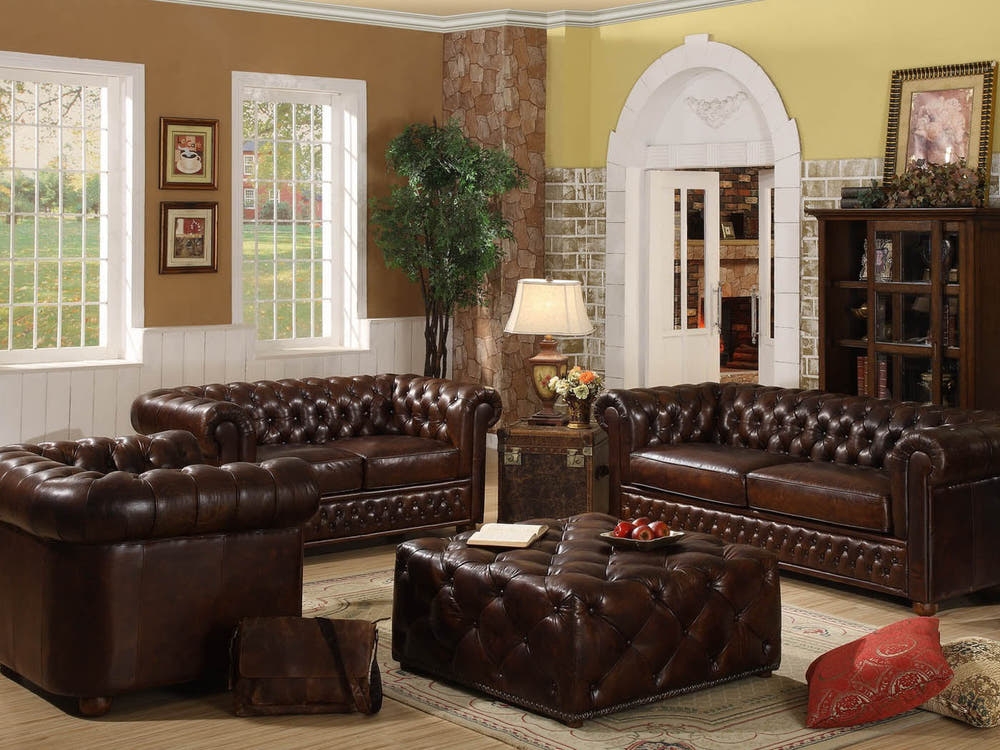
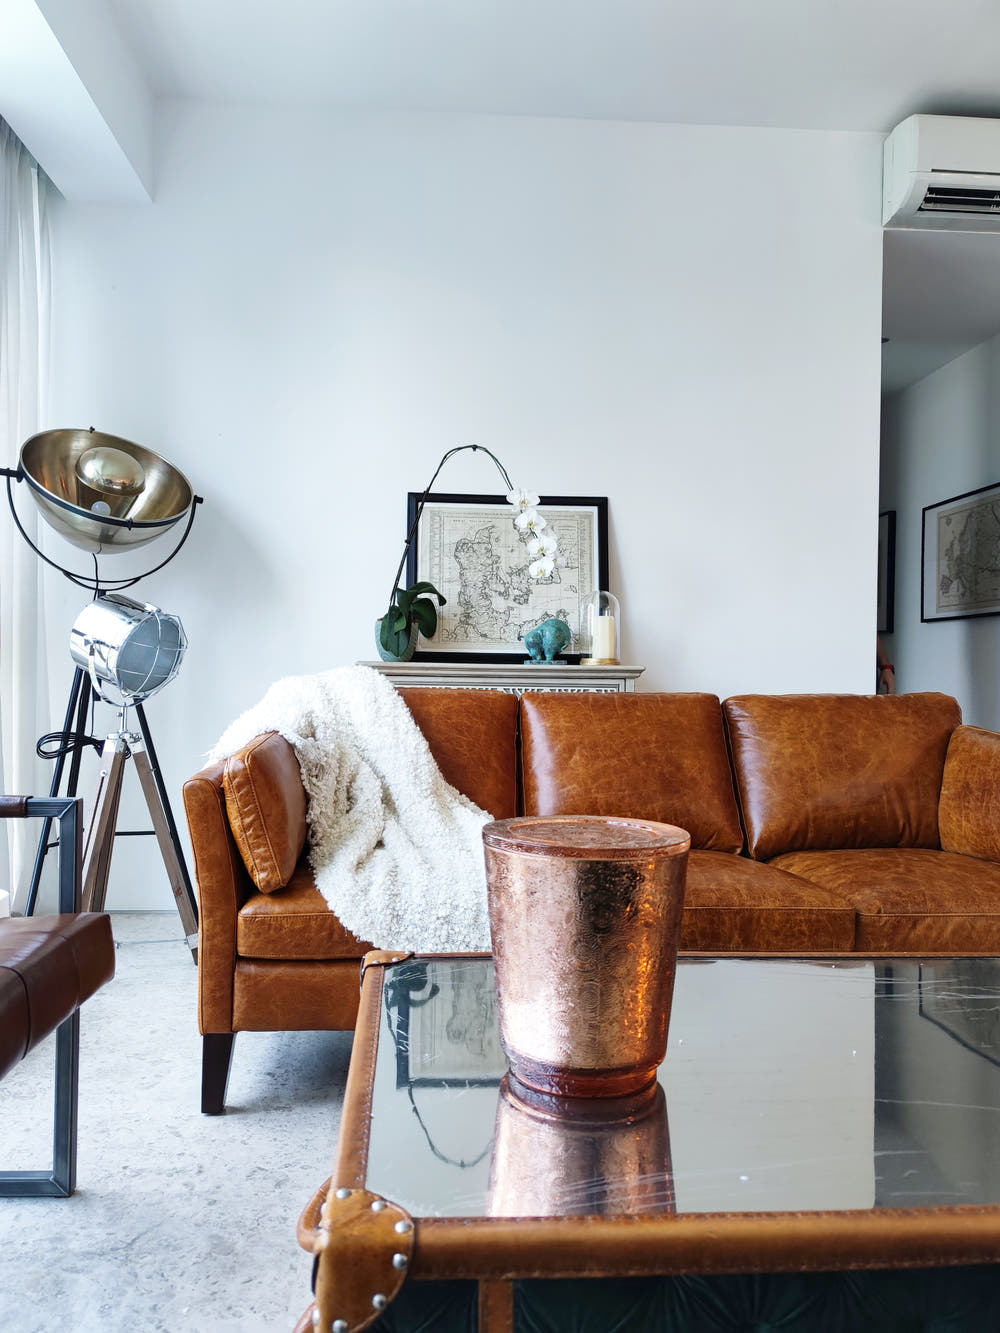
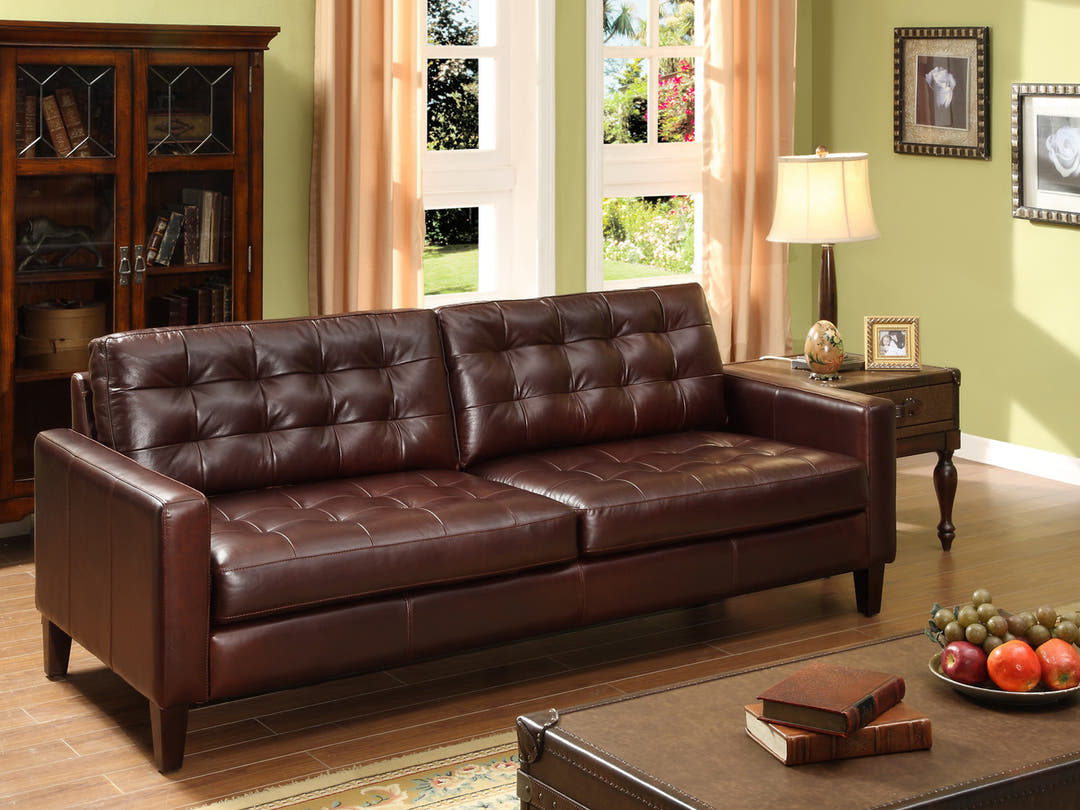
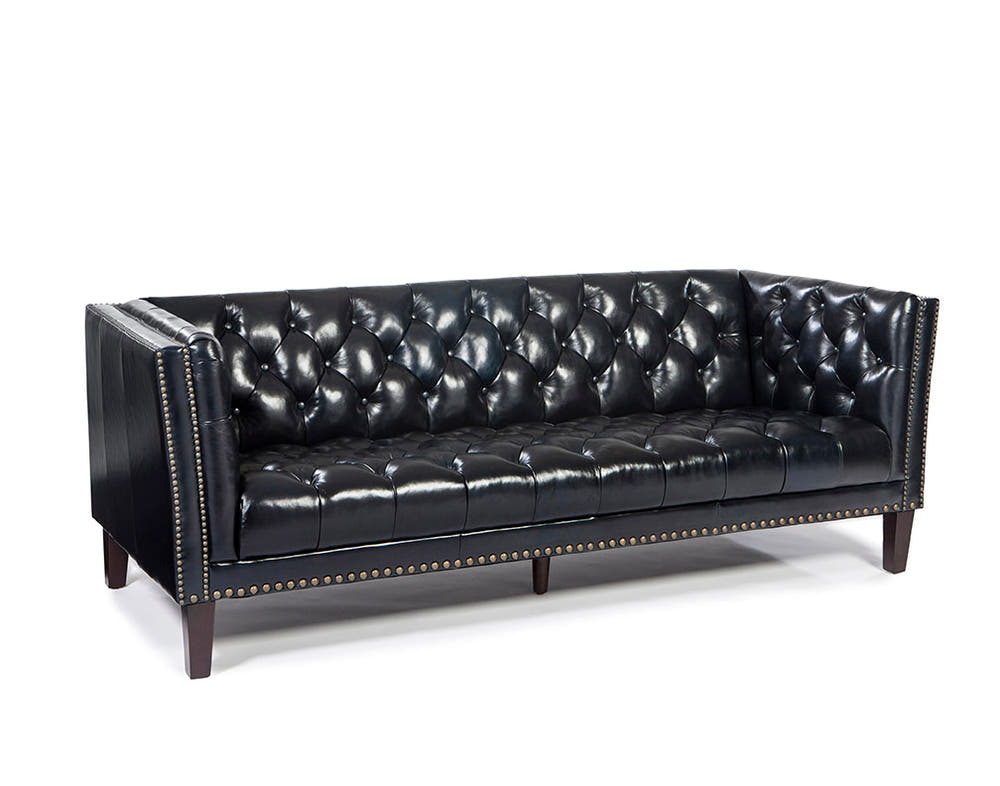
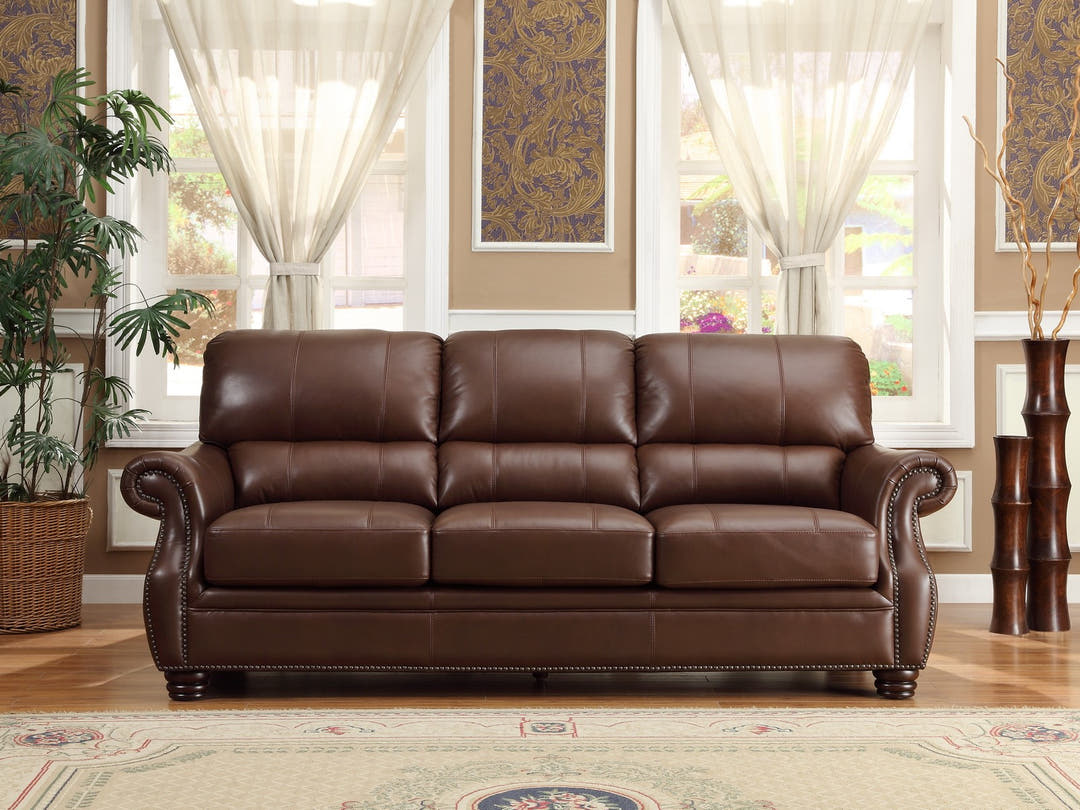
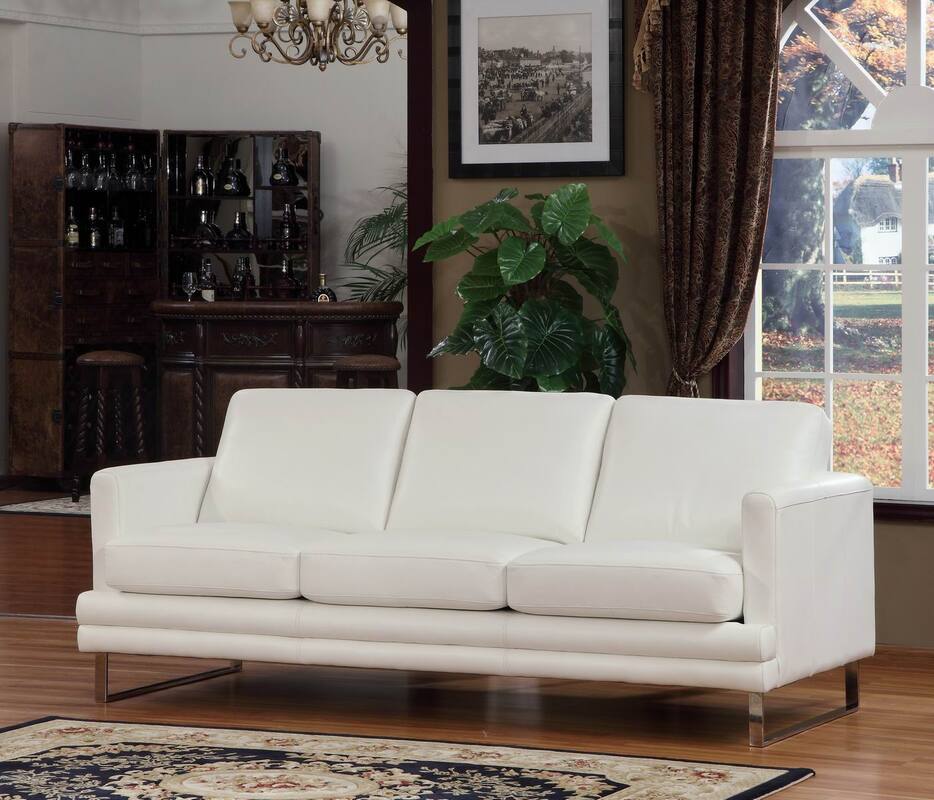
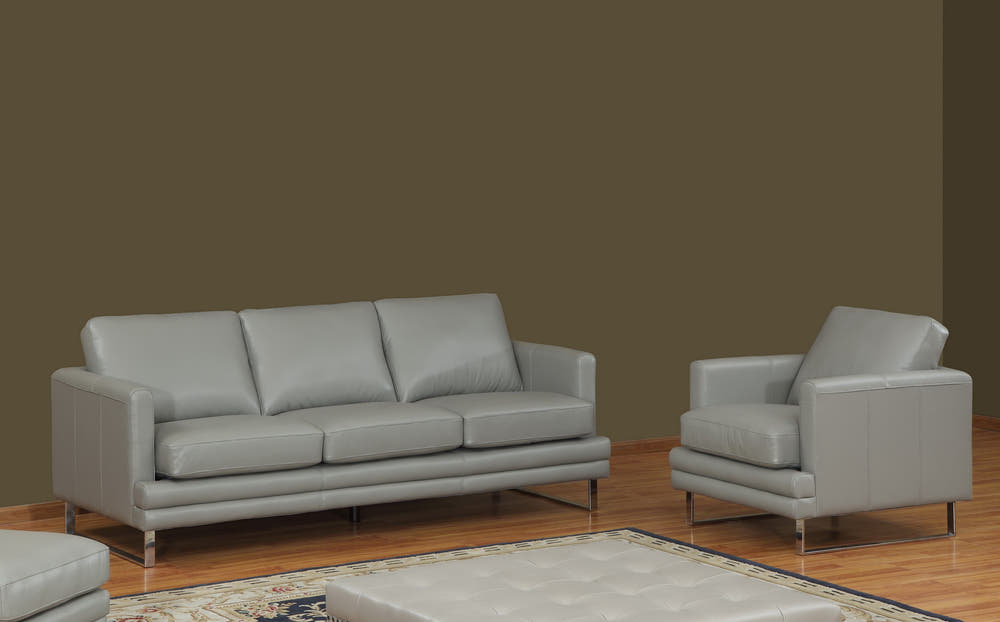
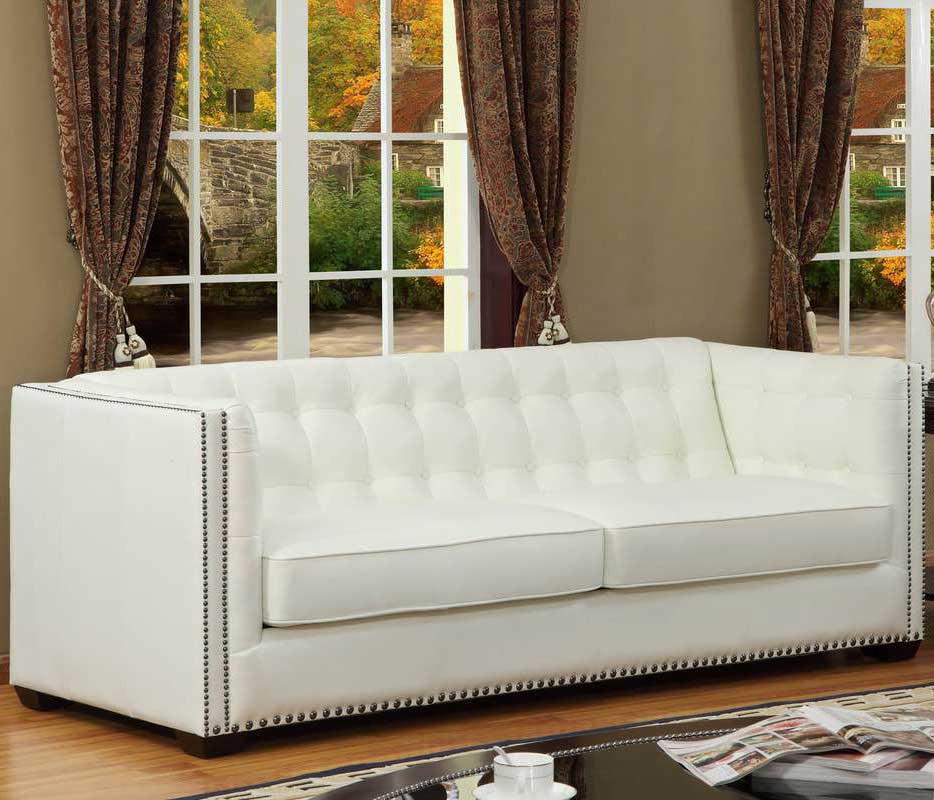
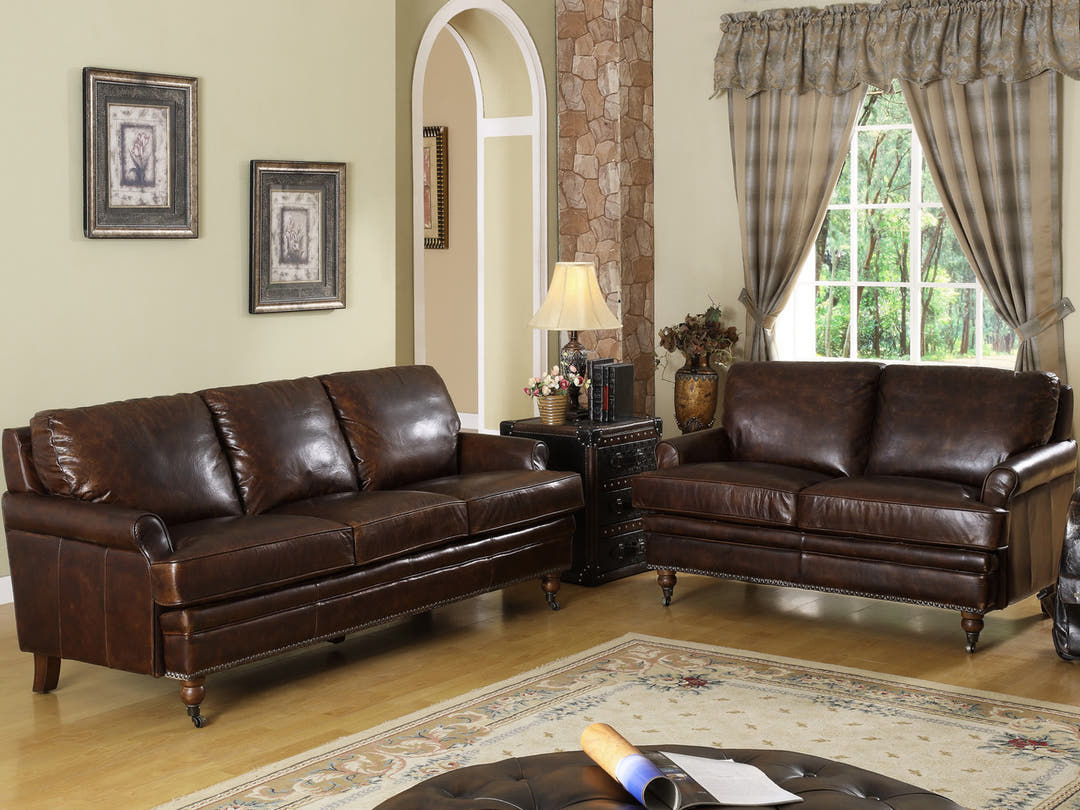
A) Finished / Pigmented Leather (most modern sofas)
-
Even color, consistent grain
-
Slightly protective feel
-
More stain resistant
-
Most common for family homes
Conditioner goal: maintain flexibility of the finish/topcoat and reduce “dry feel,” not deep oil absorption.
B) Semi-Aniline Leather
-
More natural look, still has a light protective finish
-
Softer hand-feel than fully pigmented
-
More vulnerable than pigmented
Conditioner goal: light nourishment + finish support without darkening.
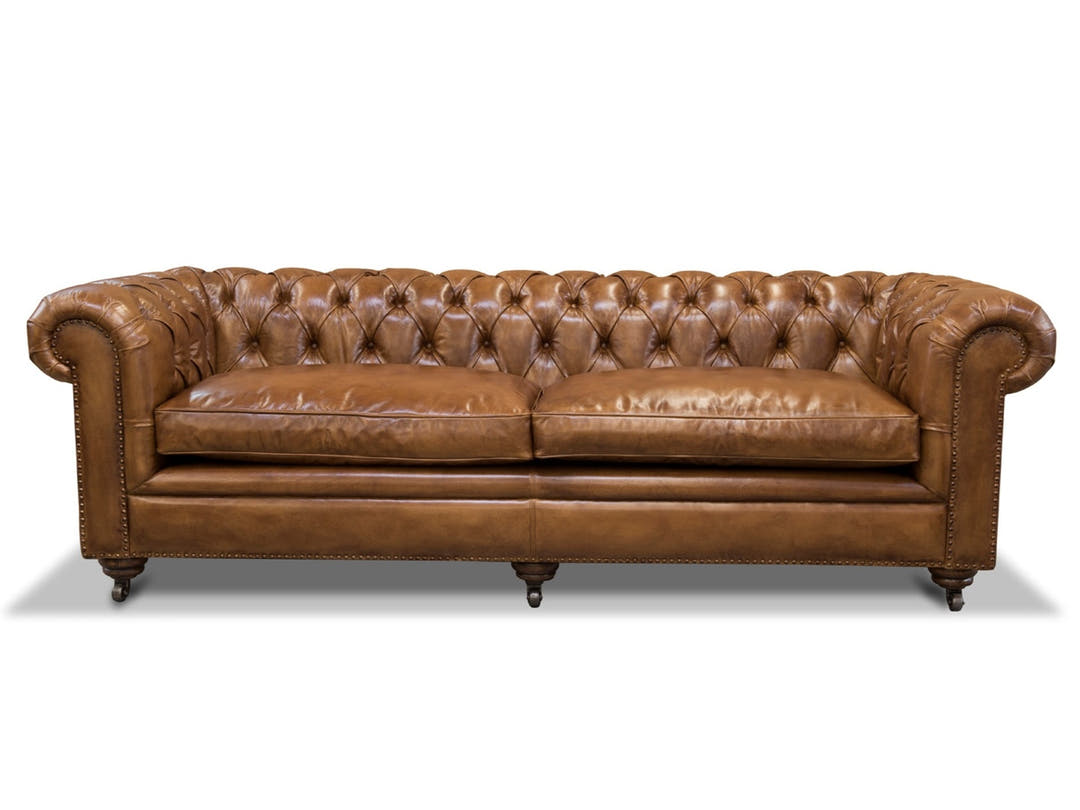
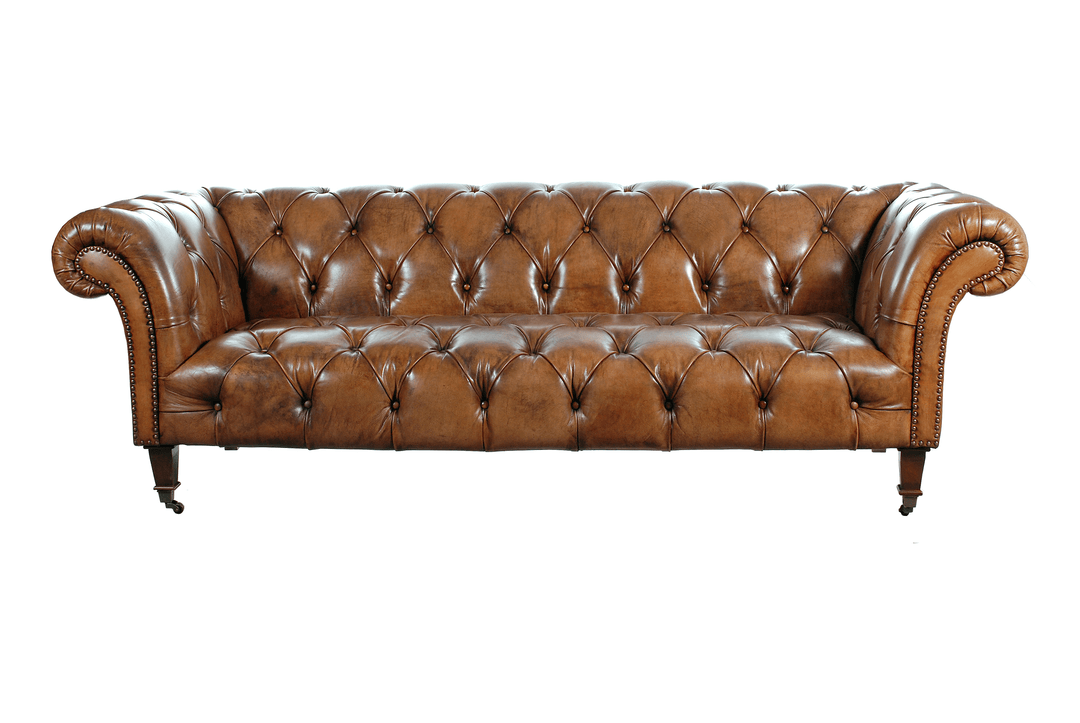
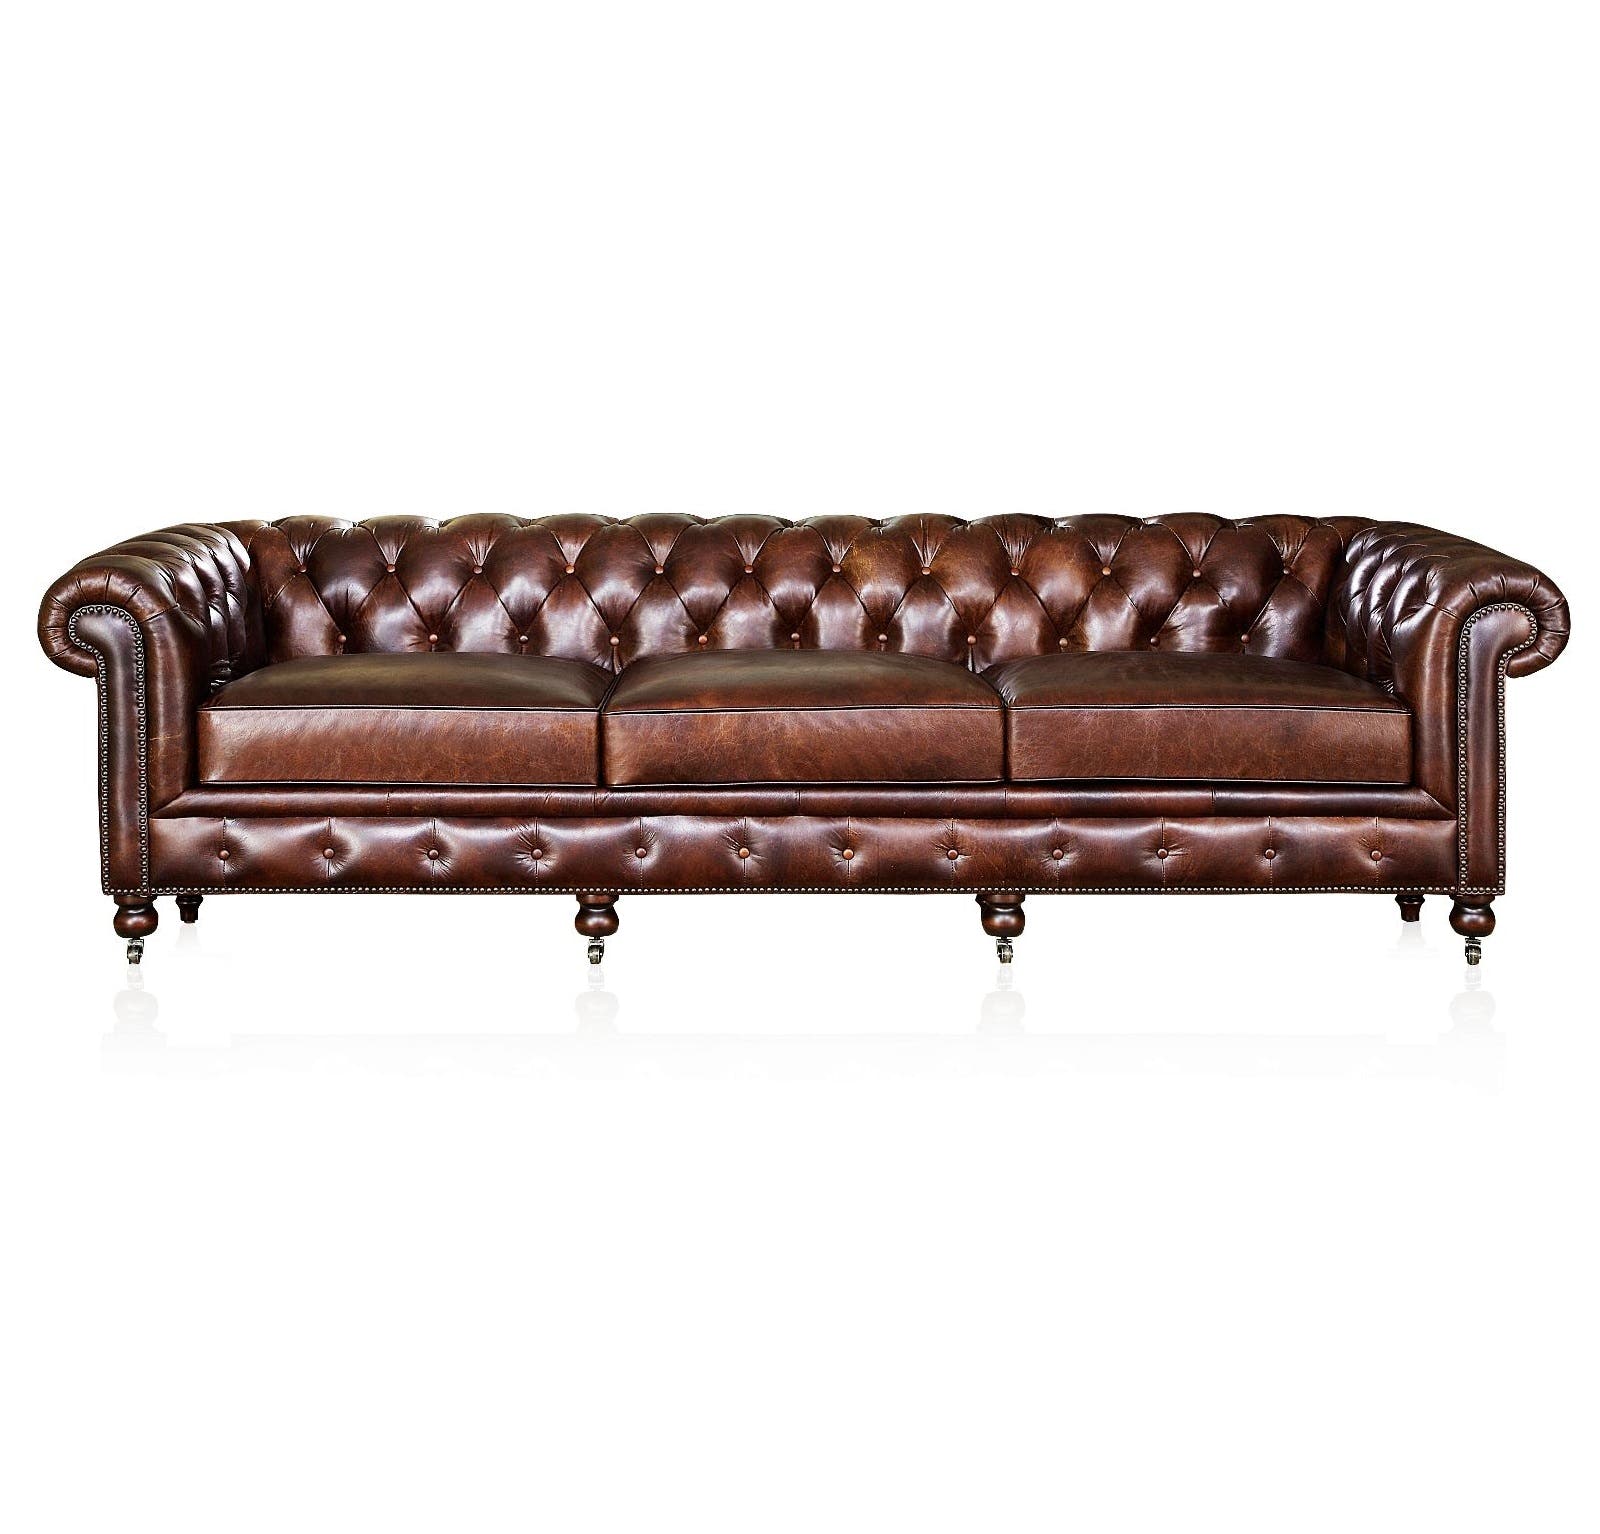
C) Aniline / “Natural” Leather
-
Very natural appearance, visible character marks
-
Absorbs quickly (water drop test often darkens)
-
Most luxurious, most demanding
Conditioner goal: true replenishment and stabilization—this is where leather conditioner matters the most.
D) Nubuck / Suede
-
Velvet-like nap
-
Not suitable for standard creams/oils
Conditioner goal: specialized nubuck/suede products only.
If you’re unsure, do a quick water drop test on a hidden area:
-
If water beads and wipes off: likely finished/pigmented
-
If it darkens quickly and absorbs: more aniline/natural
(Always test discreetly—some leathers are treated.)
Leather Conditioner vs Leather Cleaner: Stop Mixing the Two
Many “2-in-1” products exist, but performance is usually compromised.
-
Leather cleaner removes body oils, dirt, and grime from the surface.
-
Leather conditioner supports flexibility and feel after the surface is clean.
If you condition dirty leather, you can trap grime and create streaking or a sticky layer—especially on pigmented leather.
A simple rule:
-
Clean first (when needed)
-
Condition second (on schedule)
How to Choose a Leather Conditioner (Without Getting Marketing-Trapped)
When people search “best leather conditioner,” they’re often sold on buzzwords: “natural,” “premium,” “with oils,” “with wax,” “deep penetration,” “waterproof,” and so on.
Instead, choose based on your leather type and your problem.
For Finished / Pigmented Leather Sofas (most homes)
Look for a leather conditioner that:
-
is non-greasy
-
dries clean without shine
-
doesn’t leave a waxy film
-
is designed for finished leather upholstery (not just boots/saddles)
Avoid heavy oil-based conditioners meant for rugged outdoor leather goods. Those can leave residue on furniture and attract dust.
For Aniline / Natural Leather
Look for:
-
conditioner specifically labeled for aniline or “open-pore” leather
-
minimal wax content (wax can blotch)
-
strong emphasis on even absorption and low darkening risk
Be realistic: aniline leather will often darken slightly with conditioning. The goal is even, controlled nourishment—not “unchanged color forever.”
For Homes with Strong Sunlight and High UV Exposure
Prioritize:
-
regular light conditioning
-
physical UV control (curtains/placement)
-
avoiding heat sources near leather
A leather conditioner helps; it does not replace environmental control.
The Correct Way to Apply Leather Conditioner (Step-by-Step)
The video shows hands working product into leather with controlled pressure. That’s exactly right: application technique matters as much as the product.
What you need
-
2–3 clean microfiber cloths (or soft cotton cloth)
-
a gentle leather cleaner (optional but recommended)
-
your leather conditioner
-
a soft sponge/applicator pad (optional)
Step 1: Dry dust first
Dust acts like fine grit. If you rub conditioner over dust, you increase micro-abrasion.
Step 2: Clean lightly (when needed)
If your sofa gets daily use, clean before conditioning—especially on headrests and armrests.
Let it dry naturally.
Step 3: Spot test
Always test in a hidden area:
-
check for darkening
-
check for streaking
-
check for stickiness after drying
Step 4: Apply a small amount
This is where most people go wrong. Furniture leather does not need to be “wet” with conditioner.
Put a small amount on the cloth or applicator, not directly on the sofa.
Step 5: Work in sections
Use gentle, overlapping strokes:
-
one seat panel at a time
-
one arm at a time
Focus on high-stress zones (the “tension” points):
-
seat front edge
-
cushion corners
-
arm tops
-
headrest areas
Step 6: Let it absorb, then buff
Wait according to product instructions (often 10–30 minutes), then buff lightly with a clean cloth.
Buffing removes excess and prevents residue build-up.
Step 7: Allow full cure time
Avoid heavy use immediately if possible. Let the finish stabilize.
How Often Should You Use Leather Conditioner?
The honest answer: it depends on environment and leather type, not a fixed calendar.
Use this practical schedule:
Finished / Pigmented Leather (typical family sofa)
-
Condition every 3–6 months
-
If the sofa sits in strong sun or constant aircon: every 2–4 months
Semi-Aniline
-
Every 2–4 months (more sensitive than pigmented)
Aniline / Natural Leather
-
Every 6–12 weeks in harsh conditions (sun/aircon/dry season)
-
Every 2–3 months in gentle conditions
The best indicator is feel:
-
If leather starts feeling “tight,” less supple, or looks dull/ashy in flex zones, that’s your cue.
Common Leather Conditioner Mistakes (That Quietly Damage Sofas)
Mistake 1: Over-conditioning
More product does not mean more protection. Over-conditioning often causes:
-
sticky feel
-
dust attraction
-
uneven sheen
-
patchy look in matte leathers
Mistake 2: Using cooking oils (olive oil, coconut oil)
These can go rancid, darken unpredictably, and create long-term odor and residue issues.
Mistake 3: Ignoring UV and heat
If your sofa bakes in daily sun, conditioning alone won’t stop hardening. You must reduce UV exposure.
Mistake 4: Treating bonded leather like real leather
If a “leather” sofa is actually bonded leather or heavily coated synthetic blends, conditioner won’t fix peeling. Peeling is a material/finish failure.
Mistake 5: Not cleaning before conditioning
Conditioning over body oils and grime can lock contaminants in place.
The “Equal” Myth: Not All Leather Conditioner Results Are Equal
Your video uses “EQUAL” repeatedly because two things that look similar can behave differently:
-
A brown pebbled leather with a protective finish may not absorb conditioner deeply at all.
-
A natural leather will absorb quickly and show immediate change.
So if someone says, “Leather conditioner doesn’t work,” the real question is:
-
On what leather?
-
With what finish?
-
What was the goal—feel, protection, stain resistance, or repair?
Leather conditioner is maintenance. It works best when:
-
leather is real and structurally sound
-
finish is not already failing
-
application is light and consistent
-
the environment (UV, heat, dryness) is managed
A Simple 10-Minute Monthly Routine (For Busy Homes)
If you want the easiest system with the best ROI:
Every month
-
Quick vacuum with soft brush attachment
-
Wipe with a dry microfiber cloth
-
Check high-stress zones for dryness/rough feel
Every 3–6 months (or when needed)
-
Clean high-contact areas (arms, headrests)
-
Apply leather conditioner lightly
-
Buff and allow to cure
This keeps leather stable, reduces “hardening,” and slows the tension-to-crack pathway highlighted in your video.
FAQ: Leather Conditioner (Quick Answers)
Does leather conditioner prevent cracking?
It helps reduce the likelihood by keeping leather flexible and lowering surface brittleness—especially at tension points. It can’t reverse existing cracks.
Can I use leather conditioner on a leather sofa every month?
Usually no—too frequent for most finished leathers. Monthly is typically overkill unless you have very dry conditions and an aniline leather that truly benefits from it.
Why does my leather sofa still feel dry after conditioning?
Common reasons: it’s heavily finished/pigmented (low absorption), the leather is near heat/UV, the product is not suited to upholstery, or you need cleaning first (oils/grime interfere with feel).
Will leather conditioner make my sofa shiny?
A good upholstery-grade conditioner should not create a glossy shine. If it does, you may be using too much or using a wax-heavy product.
Is leather conditioner the same as waterproofing?
No. Waterproofing is usually a separate protective treatment. Many “waterproof” products can alter feel and appearance—test carefully.
Beeswax-based leather conditioner - all-natural
At Locus Habitat, we use a beeswax-based leather conditioner because it is all-natural, gives off a gentle honey fragrance, and is generally safer for sensitive skin compared with heavier cream conditioners. More importantly, beeswax provides a stable, breathable protective layer: unlike some leather creams that can become temperature-sensitive, creams applied during the hotter part of the day may absorb into the leather surface and then, when temperatures drop, migrate back upward—leaving the leather looking and feeling cloudy, dull, or slightly waxy to the touch.